搭建 Anki 自托管同步服务器
同步服务端部署
同步服务端部署用的是容器的部署方式,一开始想用 Windows 客户端带的同步服务功能来部署自定义同步服务的,但是 Windows 客户端的可执行文件和相关依赖占用的空间实在太大了,遂改用自编译 Rust 二进制可执行程序作为服务组件来封装 Docker 容器。
期间一开始是考虑封装 Python 版的同步服务环境的,无奈有个 Anki 包库依赖在部署后运行服务时,其内部调用提示缺失,就放弃了 Python 的方案。Python 环境编译部署安装比较省时,但是封装完的镜像体积上,Rust 更有优势,占用的空间更小。
相关目录及文件
# 相关目录结构
# tree .
.
├── Dockerfile
├── data.d
├── docker-compose.yml
└── envs
    ├── pub.env
    └── users.env

2 directories, 4 files
创建文件夹和配置文件
创建文件夹
mkdir anki-sync-server anki-sync-server/data.d anki-sync-server/envsdata.d:用来保存 anki 的数据envs:用来保存 anki 同步服务器的配置信息
创建配置文件
新建 pub.env
tee anki-sync-server/envs/pub.env <<-'EOF'
TZ=Asia/Shanghai
SYNC_BASE=/opt/anki.d/sync.d
SYNC_HOST=0.0.0.0
SYNC_PORT=8080
EOF
新建 users.env
tee anki-sync-server/envs/users.env <<-'EOF'
SYNC_USER1=user1:user1_password
SYNC_USER2=user2:user2_password
SYNC_USER3=user3:user3_password
EOF
创建 Anki 同步服务器的 Dockerfile
[!note] 注意修改
rust编译环境的版本为 anki 官方服务所支持的版本
# Dockerfile
FROM rust:1.75-alpine AS builder

RUN set -aeux && sed -i "s/dl-cdn.alpinelinux.org/mirrors.ustc.edu.cn/g" /etc/apk/repositories
RUN set -aeux && apk add --no-cache binutils git musl-dev protobuf-dev

RUN set -aeux \
    && cargo install --git https://mirror.ghproxy.com/https://github.com/ankitects/anki.git --tag 24.06 anki-sync-server \
    && rm -rf /tmp/cargo-install*

# RUN set -aeux \
RUN set -aeux \
    && mkdir /rootfs \
    && cp --parents $(which anki-sync-server) /rootfs/ \
    && cp --parents $(ldd "$(which anki-sync-server)" | awk '{if ( match($1,"/") ) {print $1}}') /rootfs/ \
    && strip $(find /rootfs/ -type f)

FROM alpine:latest

# Init system envs
ENV \
    PATH="${PATH}:/usr/local/cargo/bin" \
    LANG=C.UTF-8 \
    TZ=Asia/Shanghai \
    SYNC_BASE=/opt/anki.d/sync.d

# Set work directory
WORKDIR /opt/anki.d

# Set system environments
RUN set -aeux && sed -i "s/dl-cdn.alpinelinux.org/mirrors.ustc.edu.cn/g" /etc/apk/repositories
RUN set -aeux && apk add --no-cache ca-certificates tzdata

# Set the Timezone
RUN set -aeux \
    && ln -sf "/usr/share/zoneinfo/${TZ}" /etc/localtime

# Copy anki-sync-server
COPY --from=builder /rootfs/ /

CMD ["anki-sync-server"]
编译镜像
可以使用如下两种命令,根据 dockerfile 编译 images,其中,如使用 buildx 的话,需要单独安装 docker-builx
docker buildx build -t anki-sync-server:v24.04 -f Dockerfile .

docker build -t anki-sync-server:v24.04 -f Dockerfile .
使用 Docker-compose 部署服务
新建一个容器服务的编排文件: docker-compose.yml
[!note] 注意修改
Dockerfile和docker-compose.yml中 image 的版本,并且两者的版本需要保持一致
version: '3.12'
services:
  anki:  # 服务名称
    container_name: anki  # 容器名称
    image: anki/syncd:v24.04
    restart: always

    env_file:
      - ./envs/pub.env
      - ./envs/users.env

    network_mode: bridge
    ports:
      - "8080:8080/tcp"

    sysctls:
      - net.ipv4.tcp_ecn=1
      - net.ipv4.tcp_ecn_fallback=1
      - net.ipv4.tcp_dsack=1
      - net.ipv4.tcp_fack=1
      - net.ipv4.tcp_sack=1
      - net.ipv4.conf.all.rp_filter=1
      - net.ipv4.conf.default.rp_filter=1
      # - net.ipv4.ip_forward=1
      - net.ipv4.tcp_keepalive_intvl=15
      - net.ipv4.tcp_keepalive_probes=5
      - net.ipv4.tcp_keepalive_time=75
      - net.ipv4.tcp_fastopen=3
      - net.ipv4.tcp_moderate_rcvbuf=1
      - net.ipv4.tcp_mtu_probing=2
      - net.ipv4.tcp_syncookies=1
      - net.ipv4.tcp_timestamps=1
      - net.ipv4.tcp_window_scaling=1

    volumes:
      - "./data.d/:/opt/anki.d/"
      - "/etc/localtime:/etc/localtime:ro"

# 配置参考资料:
# https://docs.docker.com/compose/compose-file/
# https://docs.ankiweb.net/sync-server.html#multiple-users
# https://docs.ankiweb.net/sync-server.html#with-cargo
根据配置文件部署
docker-compose up -d使用 Bash 脚本一键式部署
# 创建配置文件夹
mkdir anki-sync-server anki-sync-server/data.d anki-sync-server/envs

# 新建 Dockerfile
tee anki-sync-server/Dockerfile <<-'EOF'
# Dockerfile
FROM rust:1.71-alpine AS builder
ENV \
    RUSTUP_DIST_SERVER=https://mirrors.tuna.tsinghua.edu.cn/rustup \
    RUSTUP_UPDATE_ROOT=https://mirrors.ustc.edu.cn/rust-static/rustup

RUN set -aeux && sed -i "s/dl-cdn.alpinelinux.org/mirrors.ustc.edu.cn/g" /etc/apk/repositories
RUN set -aeux && apk add --no-cache binutils git musl-dev protobuf-dev

RUN set -aeux \
    && cargo install --git https://github.com/ankitects/anki.git --tag 24.04.1 anki-sync-server \
    && rm -rf /tmp/cargo-install*

RUN set -aeux \
    && mkdir -p /rootfs/ \
    && cp --parents $(which anki-sync-server) /rootfs/ \
    && cp --parents `ldd $(which anki-sync-server) | awk '{if (match($1,"/")){print $1}}')` /rootfs/ \
    && strip $(find /rootfs/ -type f -iname "*")

FROM alpine:latest

# Init system envs
ENV \
    LANG=C.UTF-8 \
    TZ=Asia/Shanghai \
    SYNC_BASE=/opt/anki.d/sync.d

# Set work directory
WORKDIR /opt/anki.d

# Copy anki-sync-server
COPY --from=builder /rootfs/ /

# Set system environments
RUN set -aeux && sed -i "s/dl-cdn.alpinelinux.org/mirrors.ustc.edu.cn/g" /etc/apk/repositories
RUN set -aeux && apk add --no-cache ca-certificates tzdata

# Set the Timezone
RUN set -aeux \
    && ln -sf $(echo /usr/share/zoneinfo/${TZ}) /etc/localtime \
    && echo ${TZ} > /etc/timezone \
    && ln -sf /usr/local/cargo/bin/anki-sync-server /usr/local/bin/anki-sync-server

CMD ["anki-sync-server"]
EOF

tee anki-sync-server/docker-compose.yml <<-'EOF'
version: '3.12'
services:
  anki:  # 服务名称
    container_name: anki  # 容器名称
    image: anki/syncd:v23.10
    restart: always

    env_file:
      - ./envs/pub.env
      - ./envs/users.env

    network_mode: bridge
    ports:
      - "8080:8080/tcp"

    sysctls:
      - net.ipv4.tcp_ecn=1
      - net.ipv4.tcp_ecn_fallback=1
      - net.ipv4.tcp_dsack=1
      - net.ipv4.tcp_fack=1
      - net.ipv4.tcp_sack=1
      - net.ipv4.conf.all.rp_filter=1
      - net.ipv4.conf.default.rp_filter=1
      # - net.ipv4.ip_forward=1
      - net.ipv4.tcp_keepalive_intvl=15
      - net.ipv4.tcp_keepalive_probes=5
      - net.ipv4.tcp_keepalive_time=75
      - net.ipv4.tcp_fastopen=3
      - net.ipv4.tcp_moderate_rcvbuf=1
      - net.ipv4.tcp_mtu_probing=2
      - net.ipv4.tcp_syncookies=1
      - net.ipv4.tcp_timestamps=1
      - net.ipv4.tcp_window_scaling=1

    volumes:
      - "./data.d/:/opt/anki.d/"
      - "/etc/localtime:/etc/localtime:ro"
EOF

# 新建 pub.env
tee anki-sync-server/envs/pub.env <<-'EOF'
TZ=Asia/Shanghai
SYNC_BASE=/opt/anki.d/sync.d
SYNC_HOST=0.0.0.0
SYNC_PORT=8080
EOF

# 新建 users.env
tee anki-sync-server/envs/users.env <<-'EOF'
SYNC_USER1=user1:user1_password
EOF

# build docker image
docker build -t anki/syncd:v24.04

# 部署
cd anki-sync-server && docker-compose up -d
客户端设置
桌面端
桌面客户端(macOS/Windows/Linux)配置方法如下:
-
先打开「首选项」

-
点击「网络」,往下看,可以看到标有
self-hosted sync server(自定义同步服务器)的方框,在里面填写您的服务端的地址:
-
重启 Anki,然后点击「同步」:
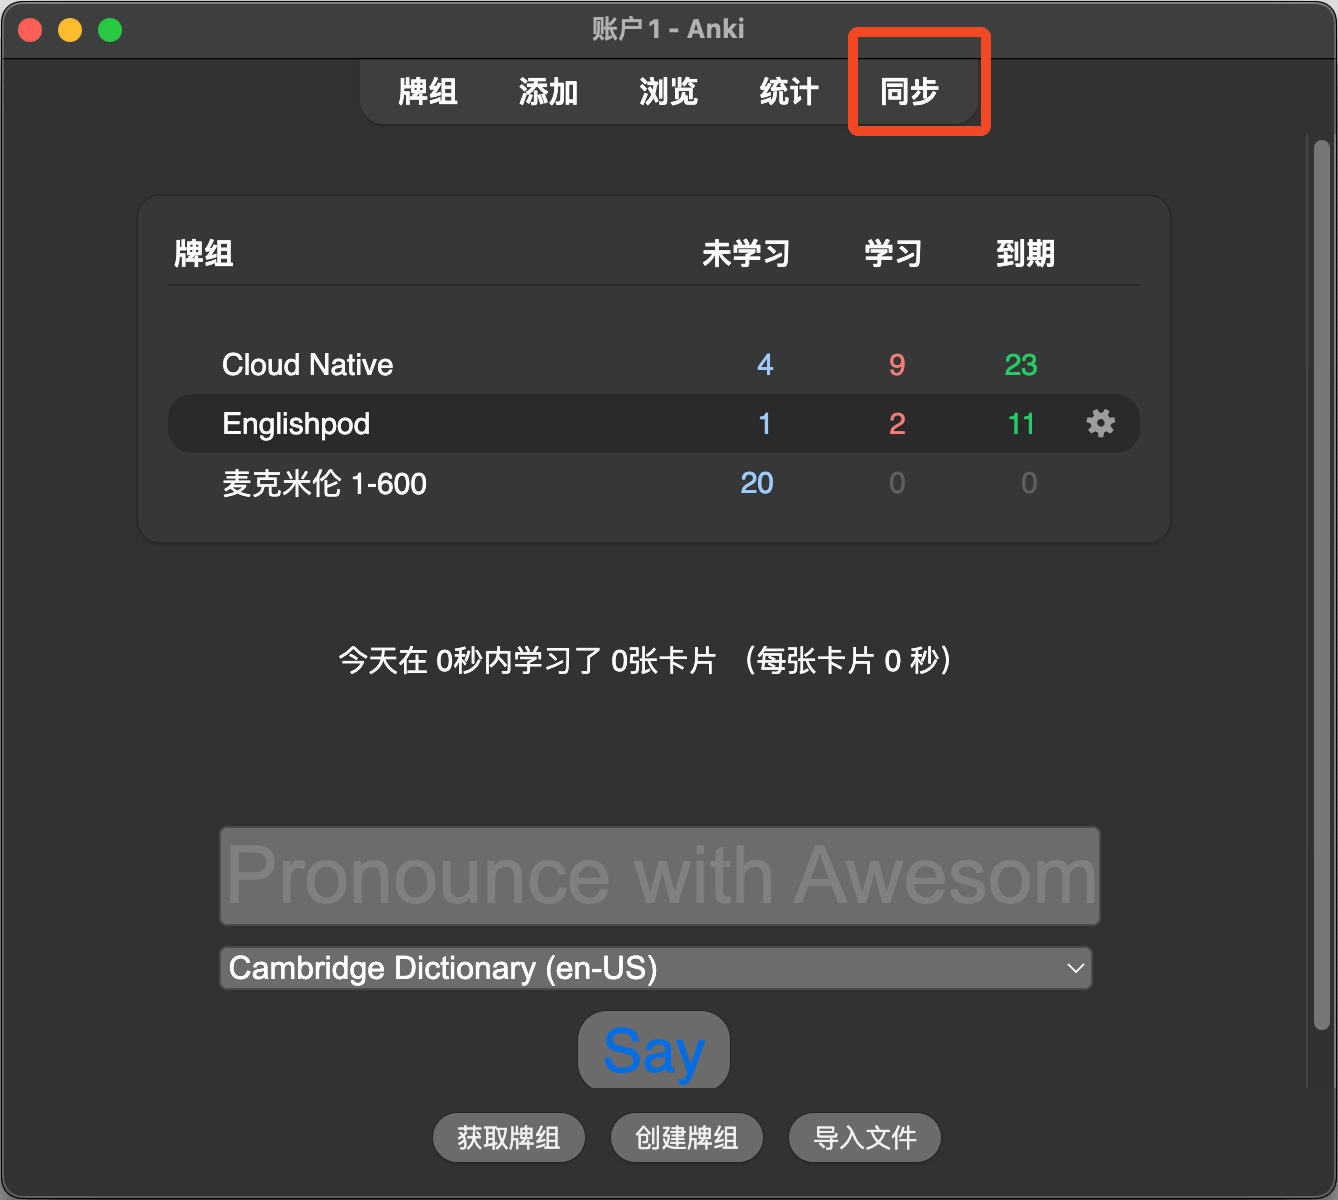
-
这时候会弹出一个输入框让你输入用户名和密码,你需要将你之前设置的用户名和密码输入进去:

-
点击确认后,就会开始同步了。
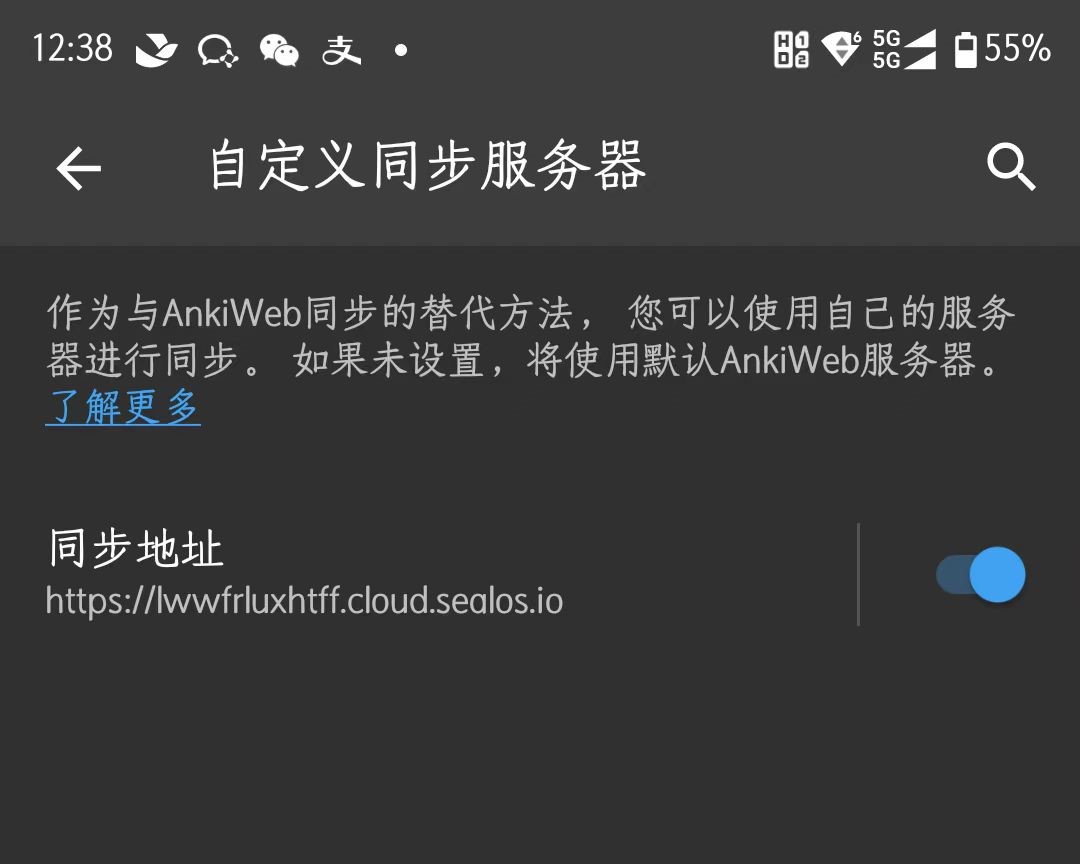
安卓端
安卓端也是直接配置即可,我的 AnkiDroid 版本是 2.15.6。你可以通过「设置 -> 高级设置 -> 自定义同步服务器」找到配置页面。

再填写用户名和密码:
设置 -> 常用设置 -> AnkiWeb 账户
这样就算配置完成了,所有的牌组都同步过来了。
 |  |
官方的版本实在是太老了,如果你想使用更激进的社区版本,可以到这个页面下载最新的 Beta 版:
建议下载 arm64-v8a 版本。
安装完成后,可以通过「设置 -> 同步 -> 自定义同步服务器」找到配置页面:
再填写用户名和密码:
设置 -> 同步 -> AnkiWeb 账户
iOS 端
AnkiMobile 也已经支持和自建的同步服务器同步了。至少对于版本 Ankimobile 2.0.90(20090.2) 来说,似乎是可行的,这是一位 iOS 系统用户 在 Anki 论坛报告的。
如果设置完成后发现不能同步可以参考下面的内容再试一次:
If you’re using AnkiMobile and are unable to connect to a server on your local network, please go into the iOS settings, locate Anki near the bottom, and toggle “Allow Anki to access local network” off and then on again.
上面的内容摘自 ANki tutorial